Nightmare of Ashihama
Nightmare Boss Guide
Nightmare is a complex multi-phase fight requiring good prayer switching, movement, and coordination. This guide explains how to prepare, fight her, and handle all mechanics.
How to Get There
- Use the teleport tree at
::home. - Search for
Nightmareand teleport directly to her arena.
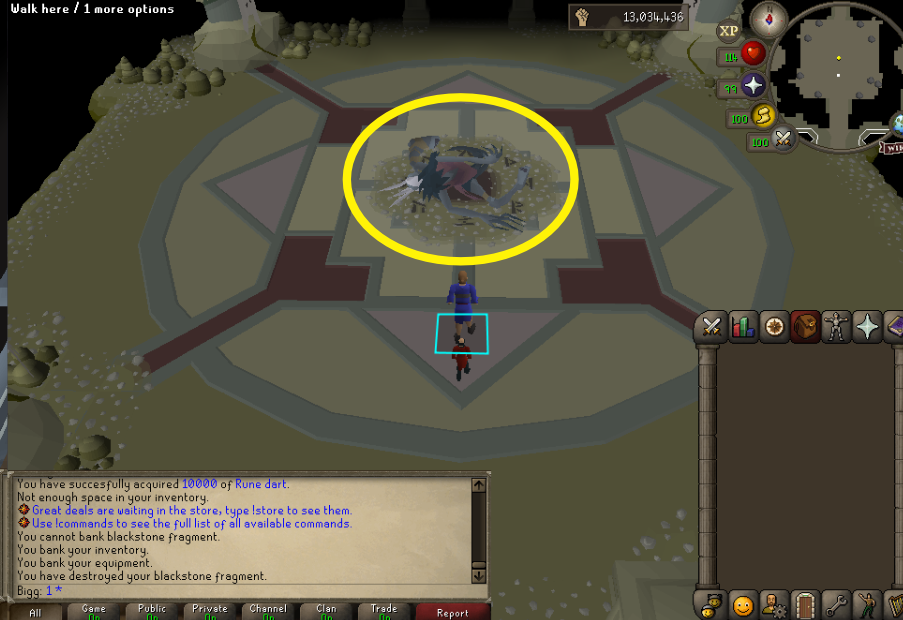
Gear/Inventory Recommedations
This fight is more advanced than others. It is recommended to only attempt it once you have a Scythe of Vitur unless you are in a mass.
| Setup | Description | Image |
|---|---|---|
| Oathplate | High-level setup | 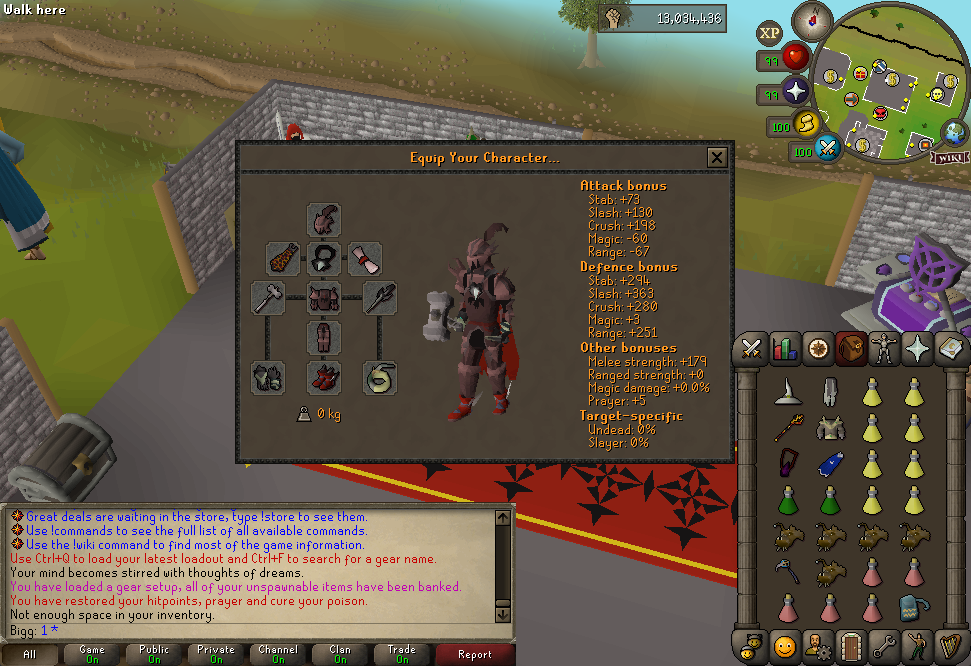
|
| Bandos | Med-level setup | 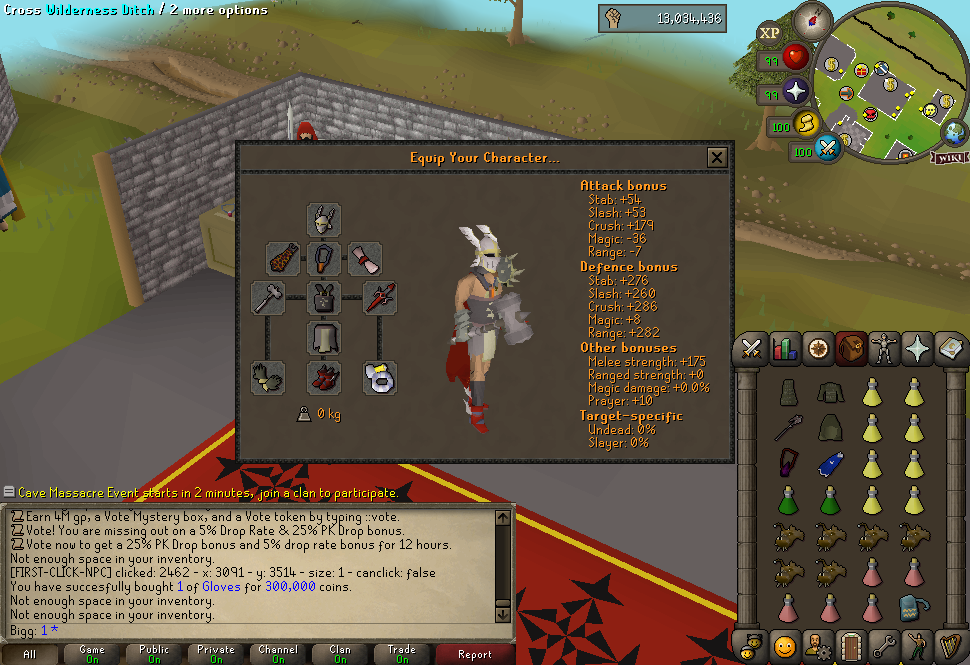
|
| Void | Budget Void setup | 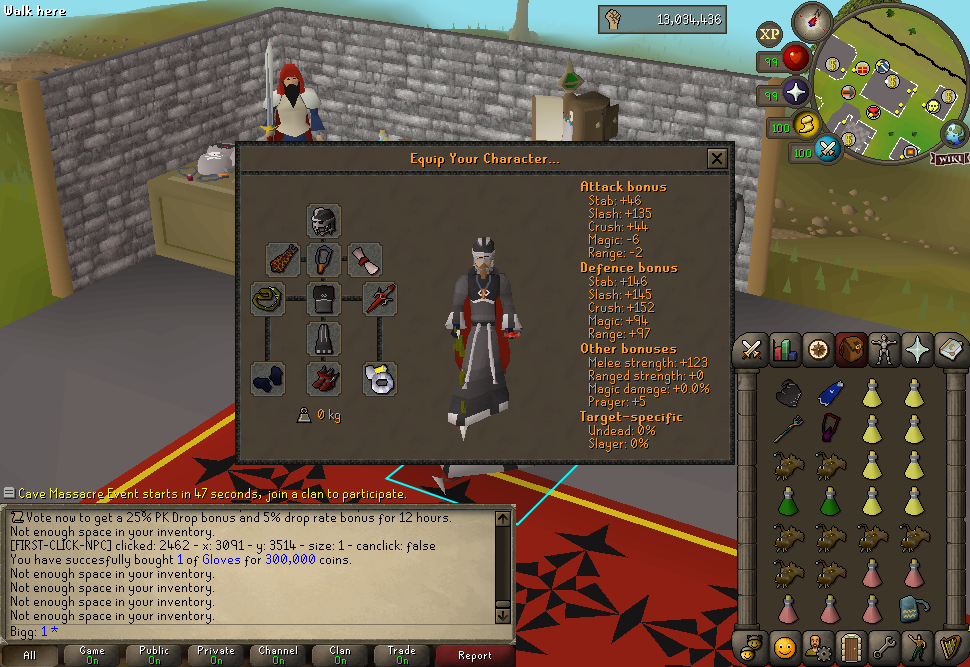
|
The Fight
Basic Mechanics
Throughout the fight, Nightmare uses three base attacks (melee, ranged, and magic), and each phase introduces new special attacks.
When attacking Nightmare, you are lowering her shield rather than damaging her health directly.
To deal actual damage to Nightmare:
- Lower her shield by attacking normally.
- After the shield is lowered, use scythe or magic to charge the four pillars in the corners of the room.
- Once all pillars are charged, Nightmare will take damage.
Tip: While charging pillars, stay aware of her base and special attacks.
After you have lowered her health, you will need to charge the pillars by attacking them.
Unless the corpse flowers special is ongoing, it's recommended to use your scythe but without a scythe magic would suffice.
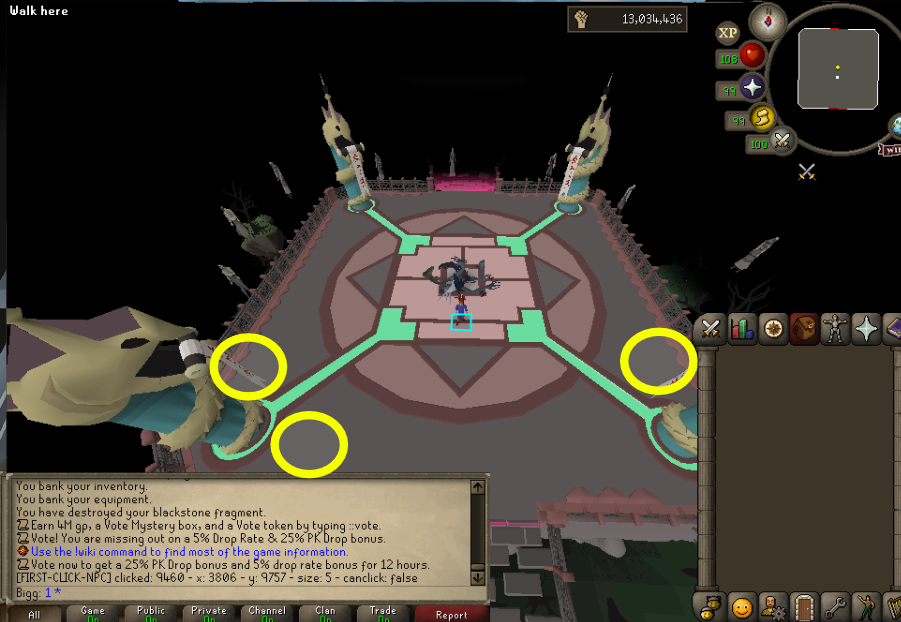
After all pillars are charged, a number of NPC's will spawn from the edge of the arena, you need to hit these with melee before they reach nightmare or you will take potentially 75 damage. This happens in every phase.
Here are the spawns when in a trio or less. The two south west spawns are for duo/solo and the east spawn is when in a trio. There will be additional spawns if you have a larger group.
Base Attacks (All Phases)
- Melee: Nightmare drags her claws from behind her back to strike (fast 2-tick attack).
- Ranged: She contorts her body and fires a projectile (3-tick attack).
- Magic: She sweeps her arms and blows flowers towards you (3-tick attack).
Prayer Advice: The melee attack is much faster than the others. Consider praying melee at all times and only switch prayers when she uses ranged/magic to avoid being caught off guard.
Phase 1: Special Attacks
Grasping Claws
Nightmare spawns a large black portal beneath her and smaller "end" portals across the room.
- Avoid standing on any portal to prevent up to 50 damage.
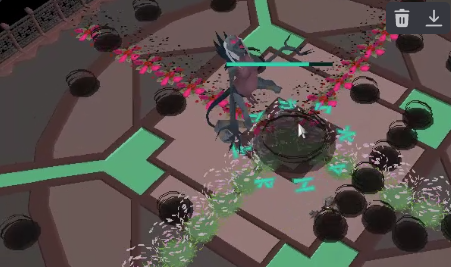
Corpse Flowers
The room is divided into four quadrants:
- One quadrant is safe, marked by white flowers.
- The other three are unsafe and marked with red berries.
- Stand in the quadrant with the white flowers.
Husks
Two husks (one magic, one ranged) spawn. Kill them quickly to avoid pressure.
Phase 2: Special Attacks
Grasping Claws
Same mechanic as in Phase 1.
Parasites
Nightmare spits parasites that infect a random player:
- The infected player must drink a Sanfew Serum dose.
- If untreated, the parasite will deal a large damage hit.
- Indicator: The infected player’s health orb in the top right corner turns pink.
Curse
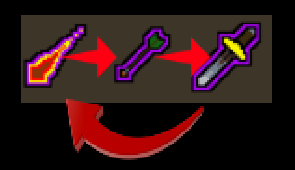
A pink glow fills the screen, and protection prayers are shuffled:
- Clicking Protect from Magic activates Protect from Missiles.
- Clicking Protect from Missiles activates Protect from Melee.
- Clicking Protect from Melee activates Protect from Magic.
- After 5 attacks, the curse ends.
Phase 3: Special Attacks
Grasping Claws
Same mechanic as earlier phases.
Spores
Puffshroom-like objects spawn randomly around the arena:
- Standing within 1 tile of one causes it to explode.
- Explosion effects:
- Disables run energy
- Slows attack speed by 1 tick for a short time
Surge
Nightmare teleports to one edge of the room, then surges across to the opposite side:
- Move out of her path to avoid up to 60 damage.
Bigg's Video Guide
Coming soon