Doom
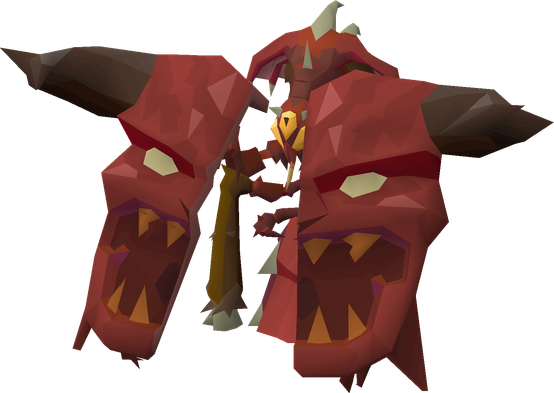
Doom of Mokhaiotl
How to get there
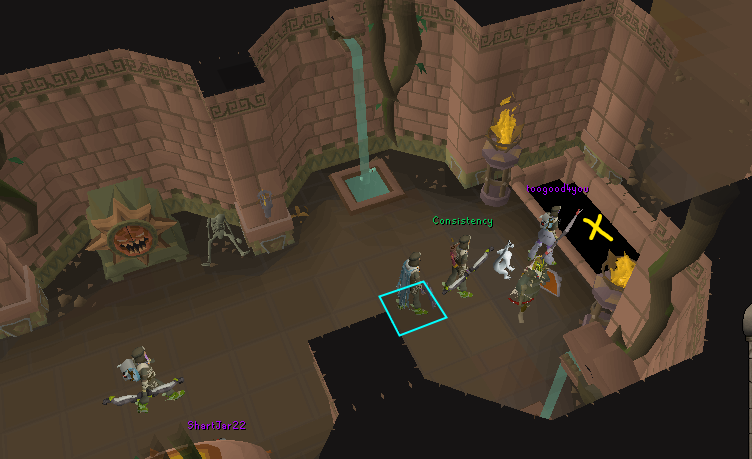
Type Doom in at the tree and teleport to Doom of Mokhaiotl. To challenge the boss, click on the gap to enter the arena.
Gear recommendations
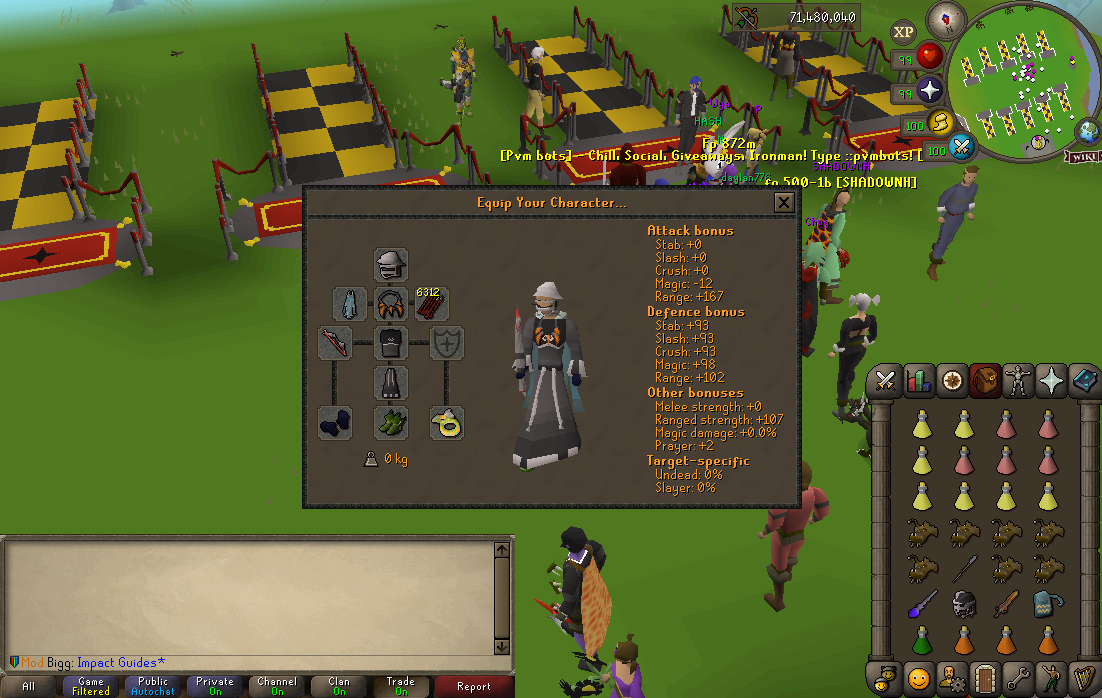
It is recommended at least to have 1 synapse for a scorching bow. The emberlight and purging staff can be substituted, however the scorching bow is a must.
| Setup | Description | Image |
|---|---|---|
| Tbow/zcb | High-level setup | 
|
| Void | Budget Void setup | 
|
The Fight
Mechanics
This boss has a number of mechanics which are simple alone but become much harder to deal with as they start to come at the same time. I will go through here and provide an example of each, but before doing so, here is a table which shows which mechanics are present in each wave:
Boulder Projectile
A boulder is thrown up in the air which explodes into fragments and disables your prayer.
The colour of the boulder will signal which prayer you need to activate first - blue is magic and green is range.
In early waves, there will be 1 attack that comes, but as you progress into higher waves there will be 3 projectiles. For example, if a blue boulder goes up, once your prayer is disabled, reactivate magic prayer and then you will need to pray mage-range-mage.
Note: there are frequently other normal attacks coming at the same time just after this so you will need to pray according to whatever the following attack is too.
From wave 8 onwards, there are 2 sets of 3 projectiles during this attack as 2 rocks are thrown up at a time. You will want to reactivate your prayers as the second boulder explodes.
Shockwave (earth shield)
After roughly 1 minute into each level, the boss will spawn in volatile earth stalagmites and about 10ish seconds later will use a shockwave attack which deals 30-40 damage.
To deal with this account you must shoot 2 separate stalagmites, the first one you shoot is where the shield will travel to. The second stalagmite is where the shield will spawn.
Try to make sure you draw a straight line as the pathing for the shield is different for that of a player.
You will not take damage from the shockwave if you are in the shield (which is indicated by your character illuminating)
In later levels, there will be more than 1 shockwave (see table for wave specific info)
Demonic Larvae (grubs)
Grubs will spawn throughout the entire fight.
In waves 1/2 they have a chance to have no protection prayer whatsoever, however through the rest of the fight they will have a prayer activated.
They will travel towards the boss and if they are not killed they will heal the boss once they reach him.
Once they are killed, they will emit a 3x3 aoe shockwave which damages you. If you kill the grub next to the boss, you will deal extra damage to the boss. If the boss is damaged by the grubs shockwave, even if you are within that 3x3 area, you will not take damage.
Attack with demonbane to guarantee a 1 shot kill (this is why it is helpful to have all 3 demonbane type weapons i.e. scorching bow, emberlight/arclight and purging staff. However, kodai wand is pretty accurate so you could always substitute this.
Demonbane Charge
Mokha will have a blueish health bar appear overhead and another bar which is charging underneath. This plays similar to Muspah's smite phase.
You must destroy the shield and stop the charge by using demonbane weapons on it. During this phase, more grubs will spawn in and if you kill them within range of mokha they will deal 100 damage to the shield.
You will want to keep hitting the boss and then the grubs to stop the charge meter becoming full and to continue dealing damage through the grubs shockwave.
If you let the bar charge up you will take 60-99 damage.
Melee Punish
Occasionally the boss will have a yellow charge bar under it's health. If the charge bar fills completely you will take 60-99 damage.
All you have to do is hit the boss once with melee. If you are not using a zcb or elder you can use emblerlight or a crystal halberd (chally is better for the punish)
Car Phase
From wave 5 onwards, the car phase is introduced. This car phase is indicated by the boss burrowing into the ground (i.e. becoming flat on the floor) and an eye will appear in the ground in the direction that the boss is looking. The eye will spawn on your location each time.
This indicates where the boss will drive to after a moment. Do not stand in it's path as it can hit 20-40 damage depending on the wave.
In wave 5, it will only do the car phase, but there will be no shockwaves after it drives to its destination. From 6 onwards, there will be a number of shockwaves.
To avoid the damage from the shockwaves, you must position yourself behind the boulders on the floor. The shockwaves should damage everything within 15 tiles of whereever the boss is. So you need to be smart as to where you lure the boss to.
Bigg's Video Guides
Click here for a guide of the basics (waves 1-4)
Click here for a guide of the later waves (5-8+)


