Chambers of Xeric
Chambers of Xeric (Olm Fight) Guide
How to Get There
- Use
::hometo access the teleport tree and navigate to the Chambers of Xeric entrance.
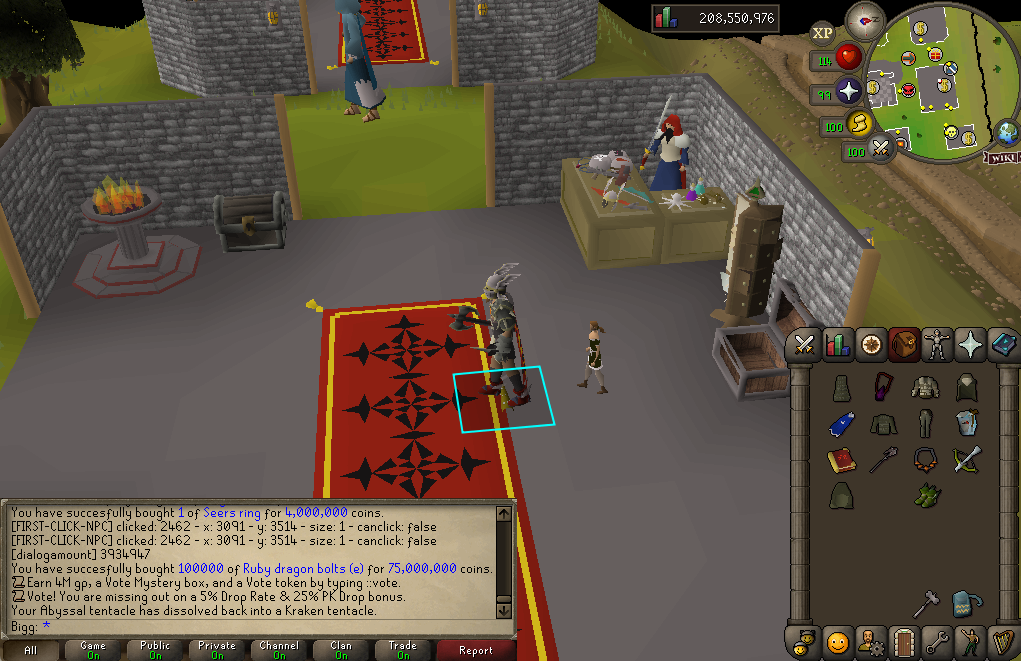
Tile Markers
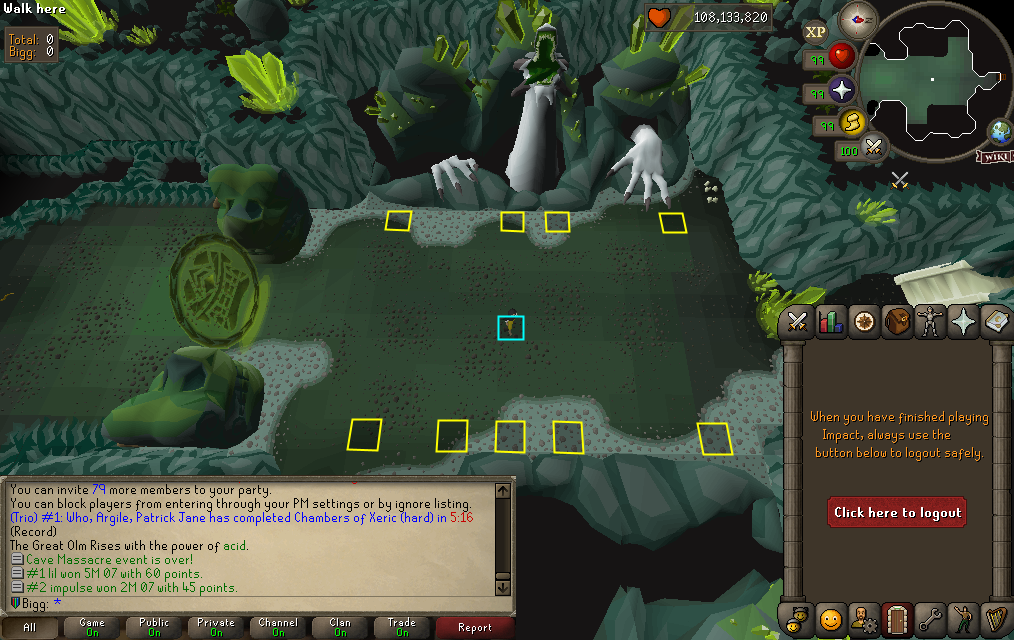
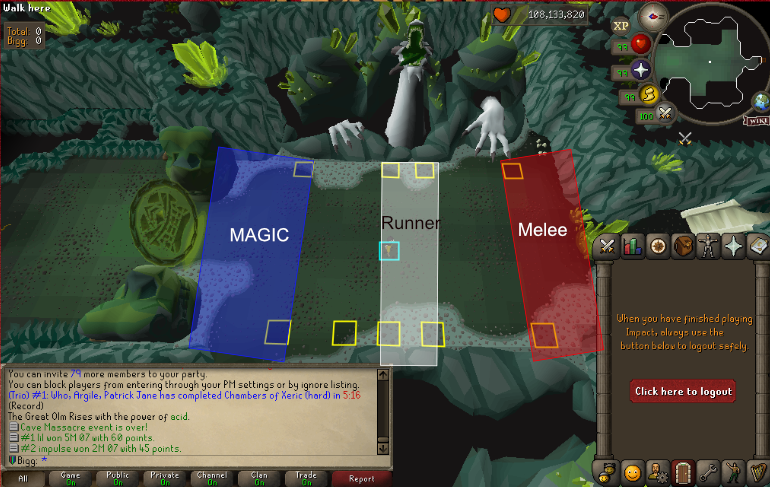
- Teams can assemble here and prepare roles:
- Trio group
Runner Mage Hand Melee Hand
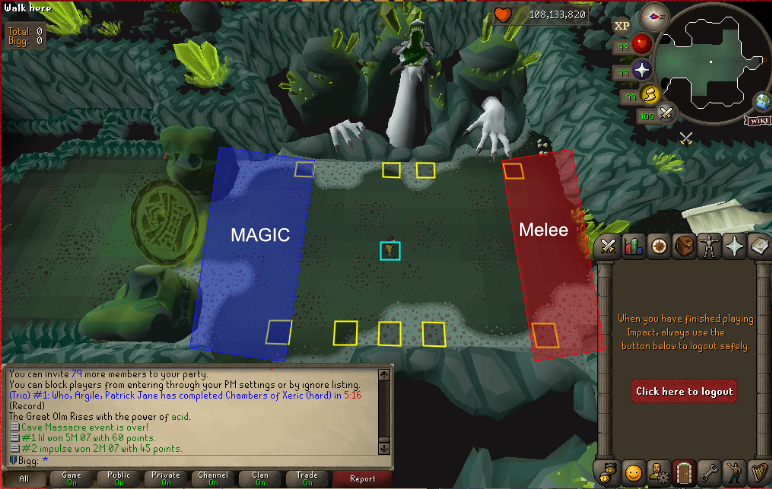
- Duo group
Mage Hand Melee Hand
Gear/Inventory Recommendations
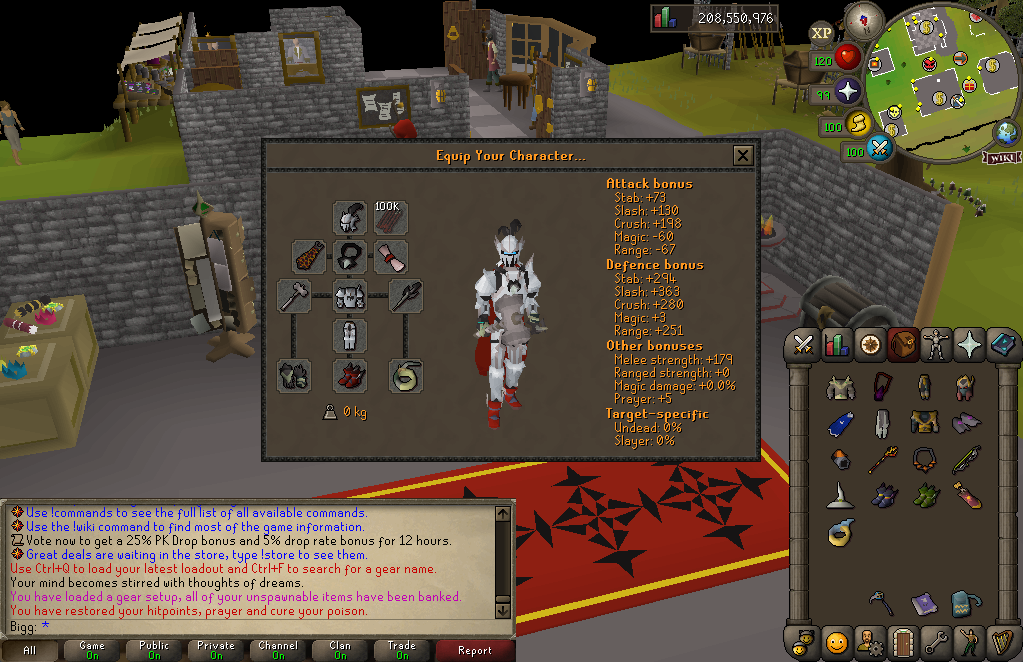
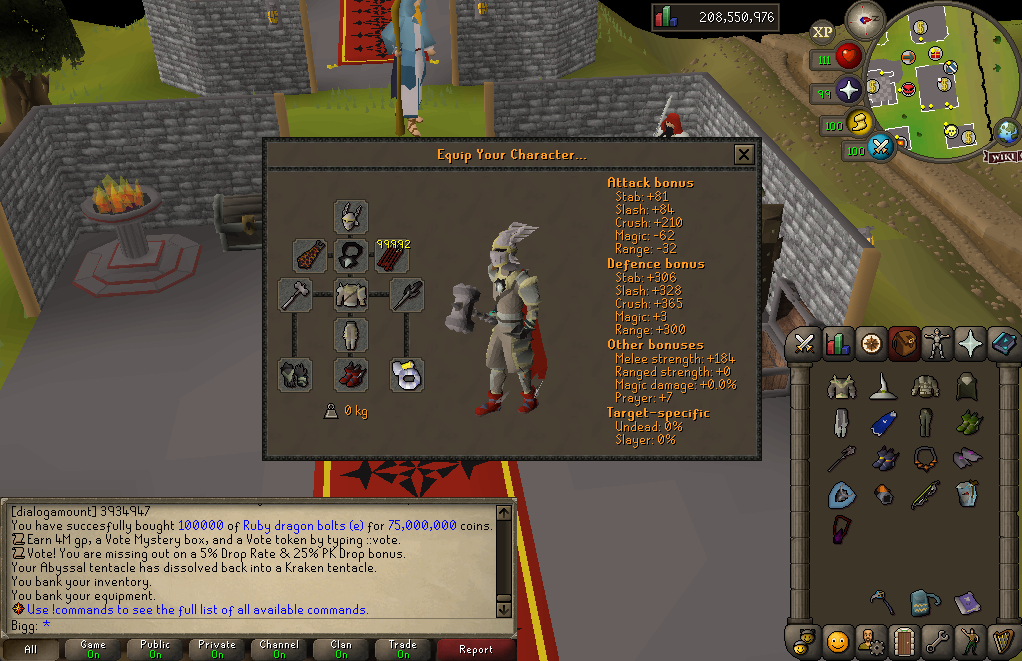
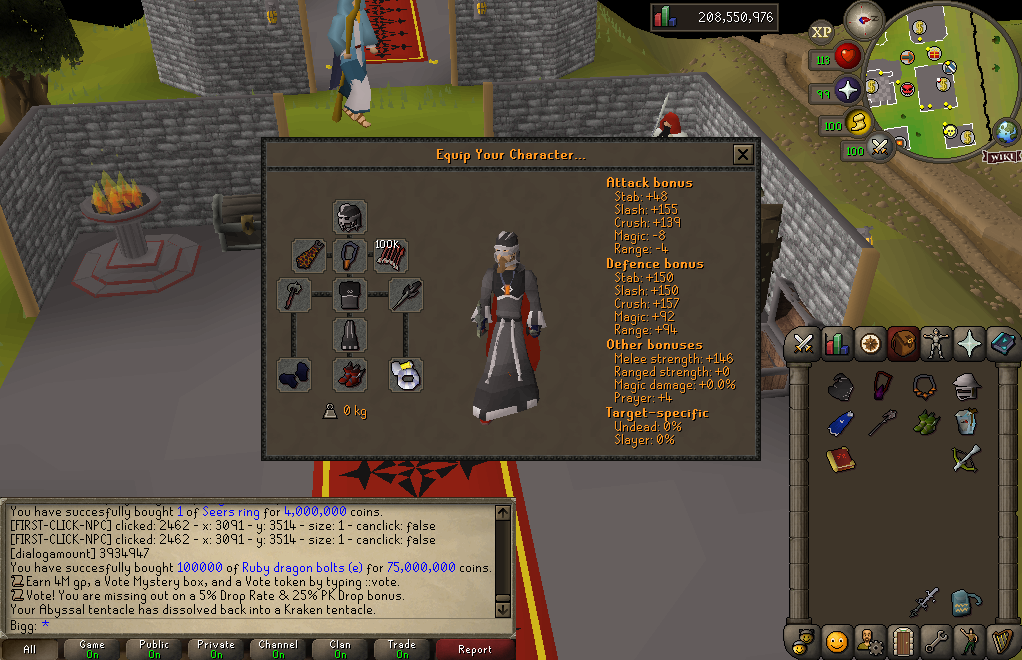
Recommended Gear
Fight Guide
Overview
Olm has four phases:
Phase 1 & 2
- You can kill either hand in any order.
Recommended: Kill the magic hand first.
If you attack the melee hand first, Olm's fist can clench and prevent you from attacking it. Killing the magic hand first avoids this issue.
Phase 3
You must kill both hands at roughly the same time, or they will respawn.
Strategy: Lower the melee hand's health to under 100hp. Kill the other hand fully, then return to finish the weakened hand.
Phase 4
- Both hands disappear.
- You must use Ranged to damage Olm’s head.
Tbow is best here, followed by dragonhunter crossbow with dragon ruby (e) bolts.
Basic (Standard) Attacks
Magic (green orb) and Ranged (crystal shard) attacks deal similar damage. Protect from Magic or Protect from Ranged prayer reduces damage by ~75–80%.
Spheres
Olm deactivates your prayer and shoots an orb at you. Pray accordingly:
| Sphere | Prayer | Effect |
|---|---|---|
| Red (Aggro) | Protect from Melee | Reduces accuracy |
| Green (Accuracy) | Protect from Missiles | Reduces damage |
| Purple (Magic power) | Protect from Magic | Reduces magic damage |
Other Special Attacks
Acid
- Spray: Leaves acid pools (3–6 damage per tick + low poison).
- Drip: Targeted players leave acid pools behind when moving. Keep moving to avoid taking damage.
Flame
- Deep Burn: Green fireball deals 5 damage every few ticks and debuffs stats over six hits.
- Fire Wall: Two walls trap players and deal heavy damage unless doused with water-based spells/items.
Crystal
- Falling Crystals: Random player targeted, causing 11 crystals to drop (massive single-hit damage). This is indicated by a red flashing circle around your character.
- Crystal Bombs: Olm fires a large crystal into a random position. It will explode after a few seconds within a 5×5 area; if you are closer = more damage.
⚡ Special Attacks (Non-Head Phases)
Triggered on a set pattern via Olm’s left hand icon:
- Crystal Burst: Seedlings appear beneath all players; explode after a few seconds and push you away.
- Lightning: Strikes north/south—zap disables prayers, binds, and deals moderate damage. You can avoid damage by running through it when it is 2 tiles away, or just dodge it.
- Swap (Teleport): Teleports players; damage increases with distance from the landing spot. This is indicates by a flashing white circle around your character. Meet at the tile in front of the melee hands thumb with the other player.
