Yama: Difference between revisions
Created page with "= Yama Fight Guide = == 📍 How to Get There == * Use the tree at <code>::home</code> to teleport to Yama. * Talk to the demon to enter the lair. * Run to the throne and click on Yama to start the fight. == 🛡️ Gear Recommendations == * '''Magic:''' Purging staff + Mark of Darkness + Dark Demonbane * thumb|none|750px|Gear 1 * thumb|none|750px|Gear 2 * File:Yama_Boss_Phase3.png|thumb|none|750px|..." |
(No difference)
|
Revision as of 10:38, 23 July 2025
Yama Fight Guide
📍 How to Get There
- Use the tree at
::hometo teleport to Yama. - Talk to the demon to enter the lair.
- Run to the throne and click on Yama to start the fight.
🛡️ Gear Recommendations
- Magic: Purging staff + Mark of Darkness + Dark Demonbane

Gear 1 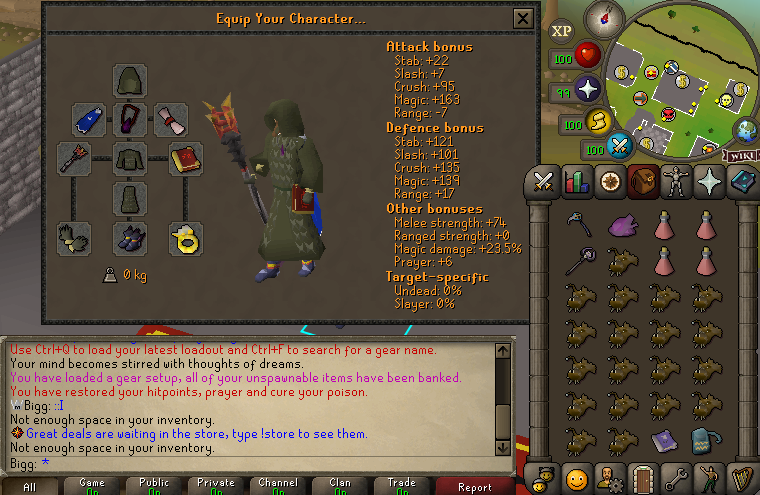
Gear 2 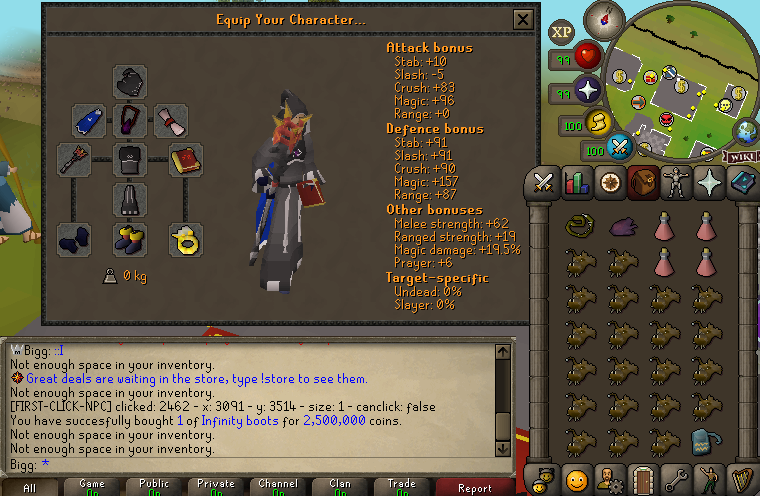
Gear 3


🔰 General Mechanics (Applies Throughout Fight)
- Yama targets players based on which combat style hit him last:
Melee: He chases and melees you if close. Magic: He stays put, uses range/magic, and boosts magic defence to +60.
Basic Attacks (all max hit 46 without prayer):
- Melee: AoE axe swing (3x3). Pray Melee to reduce damage to 6.
- Magic: Snap after flames appear around him and your character. Pray Magic before the snap.
- Ranged: Snap after shadow swirls. Pray Missiles before the snap.
Poison:
- Starts at 20 damage.
- Use sanfew serum or araxyte venom sacks (costs 4 damage per use).
Stat Reduction:
- Max defence drain = 80 (down to 145).
- 1 elder maul spec or 3 emberlight specs.
- Use emberlight for full Attack/Strength drain.
- Accursed sceptre spec drains Defence (34) and Magic (38) – helps mages.
⚔️ Phase 1 (100% to 66.6%)
What to Do:
- Start fight → Yama targets player.
- Attack starts based on glyph color near throne:
Red glyphs → starts with ranged attack. Purple glyphs → starts with magic attack.
Attack Pattern:
- Every phase, Yama uses:
1 regular attack → 1 special → then 3 regular attacks → 1 special → repeat.
Special Attack Mechanics:
- Stand on matching glyph (Fire=red or Shadow=purple) to block special.
- Do not step early! Doing so deactivates the glyph.
- If Yama is closer, you take more damage/prayer drain from stepping on glyph.
- In duo, only 1 player needs to stand on glyph.
Arena Hazards (before specials):
- Shadow Waves: Skip over them or take 20 damage & lose prayer briefly (same timing as P2 TOA for reference).
- Fire Streaks: Move quickly across arena; if hit, you get rooted & burned.
- Void Flares:
Destroy fast or Yama heals. Use purging staff + Dark Demonbane + Mark of Darkness for fast kills.
- You can destroy 1 flare and stand on matching glyph to block the explosion of the other.
- The flares have red or purple cores to indicate glyph color.
💀 Intermission – Judge of Yama (After 66.6% and 33.3%)
What to Do:
- Jump across stones to reach Judge while dodging fire spells.
Judge Mechanics:
- Judges have 400 HP, pray against melee + range first.
- Switches prayer to whatever style you last used.
- Use magic/melee.
- Hits you land are always max hits.
- Ignore prayer boosts for magic (focus on high-damage staff only).
- Kill Judge quickly → Back to arena.
⚔️ Phase 2 (66.6% to 33.3%)
What to Do:
- Start by attacking with magic to stop Yama from chasing melee-style.
Changes from Phase 1:
- More Shadow Waves (2 per cycle) and Fire Streaks.
- Meteor Strike: Huge fireball AoE.
Move at least 2 tiles from center or die instantly. Best to be 6+ tiles away to avoid all damage.
- Shadow Stomp: Roots + prayer drain + up to 60 damage. Pray accordingly.
- Same void flare mechanics as Phase 1.
⚔️ Phase 3 (Final 33.3%)
What to Do:
- Yama moves to arena center and stays put.
Changes:
- Faster attacks (every 6 ticks instead of 7 → 4.2s).
- Increased Defence, but previous drains still apply.
- No glyphs anymore.
Fight Strategy:
- Magic: Use purging staff or Tumeken’s shadow switch.
- Melee: Use halberd, flinch, or Donofly method (advanced).
Yama’s Only Special: Shadow Crash
- 3 fireballs land in a line (shown in video below).
- Step sideways (1 tile perpendicular) from center to dodge bowtie-shaped shadow explosions.
Void Flares:
- Spawn frequently.
- Use purging staff + Mark of Darkness to one-shot them.
- Flares spawn at half health (71 HP).
- Always 2 flares; up to 4 can be active.
- In duo, split flare duty:
1 player west, 1 east, OR 1 flare-killer stays north in melee range and alternates between flare-killing and Yama attacking.