Moons of Peril: Difference between revisions
Jump to navigation
Jump to search
Created page with "= Moons of Peril Guide = == 📍 How to Get There == * Use the teleport tree at <code>::home</code> to travel to '''Moons of Peril'''. * You will see three doors, each leading to a boss room: ** '''Blue Moon''' (north room - weak to crush) ** '''Blood Moon''' (west room - weak to slash) ** '''Eclipse Moon''' (east room - weak to stab) * After defeating all three bosses, enter the prism in the central reward room to claim your loot. == 🛡️ Gear Recommendat..." |
(No difference)
|
Latest revision as of 12:01, 23 July 2025
Moons of Peril Guide
📍 How to Get There
- Use the teleport tree at
::hometo travel to Moons of Peril. - You will see three doors, each leading to a boss room:
- Blue Moon (north room - weak to crush)
- Blood Moon (west room - weak to slash)
- Eclipse Moon (east room - weak to stab)
- After defeating all three bosses, enter the prism in the central reward room to claim your loot.
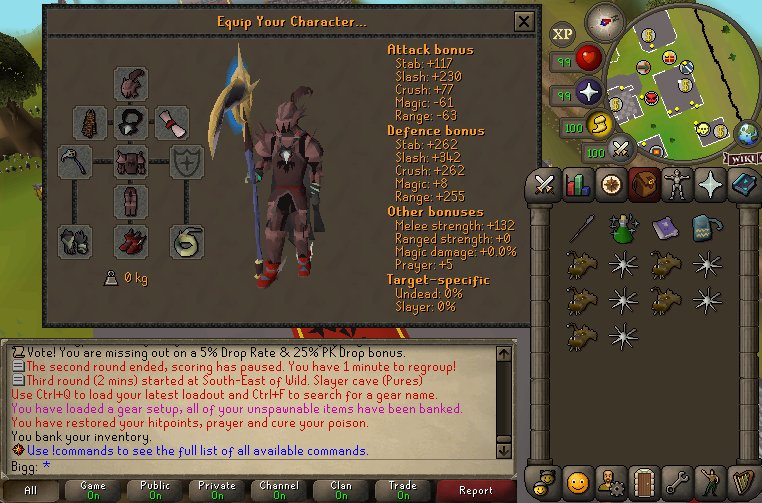
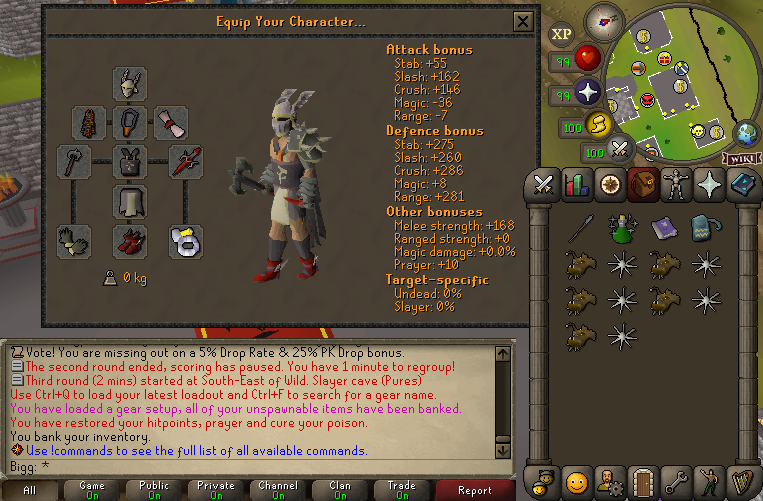
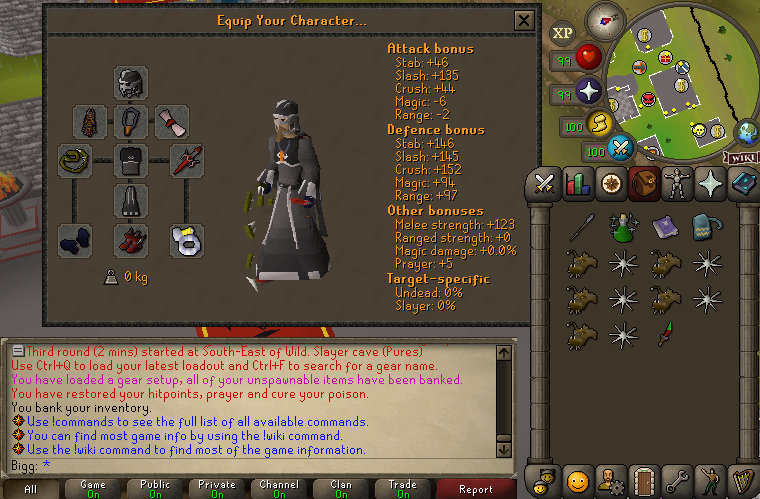
🛡️ Gear Recommendations


⚔️ General Mechanics
- All bosses share a key mechanic:
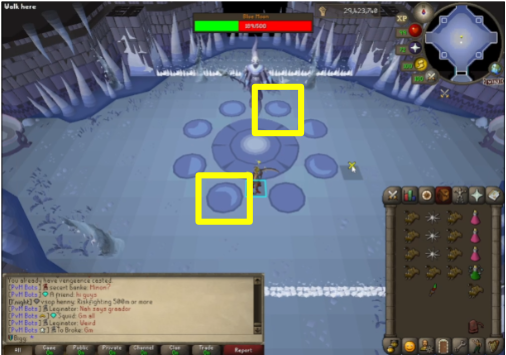
- In between special attacks, glyphs will light up on the arena floor.**
- You must stand on the lit glyph to avoid taking damage.
- The glyph moves clockwise and changes after 2 (sometimes 3) boss attacks.
- After every special attack, the glyphs restart from one of two highlighted circles.
- This pattern is not random – they always alternate between the top and bottom highlighted circles.

🌕 Blue Moon (North Room)
- Weakness: Crush attacks (if using scythe, use Jab style).
Special Attacks:
- Rock Special:
- The boss removes your weapon and spawns several rocks in the arena.
- Attack the sparkling rock to destroy it while avoiding crystallizing floor tiles.
- When the sparkling rock is destroyed, you regain your weapon.
- Tornado Special:
- The boss throws you to the centre of the room and spawns tornados.
- Avoid tornados and run to the unlit braziers on the sides of the room.
- Click a brazier to light it (no tinderbox required) and return to the centre while dodging tornados.
🩸 Blood Moon (West Room)
- Weakness: Slash attacks.
Special Attacks:
- Blood Pools:
- The boss spawns pools of blood on the floor.
- Simply avoid standing in them to prevent damage.
- Jaguar Attack:
- Jaguars spawn around the arena. One glyph in front of a jaguar will be lit.
- Attack the jaguar with the lit glyph while avoiding its retaliatory hits (time your attacks carefully).
🌑 Eclipse Moon (East Room)
- Weakness: Stab attacks (scythe is still optimal even without a stab option).
Special Attacks:
- Rolling Ball:
- The boss throws you to the outskirts of the arena and spawns a large ball.
- Follow the ball as it rolls around to avoid damage.
- Mimic Attack:
- You are thrown to the centre of the room and mimics spawn in.
- Attack the mimics rapidly – your attack speed is temporarily increased during this phase.