Vet'ion: Difference between revisions
Jump to navigation
Jump to search
| [checked revision] | [checked revision] |
| Line 41: | Line 41: | ||
== The Fight == | == The Fight == | ||
Both bosses have '''two phases''' (Purple → Orange for Vet'ion; Blue → Orange for Calvar'ion). They share | Both bosses have '''two phases''' (Purple → Orange for Vet'ion; Blue → Orange for Calvar'ion). They share identical mechanics: | ||
=== Boss Mechanics === | === Boss Mechanics === | ||
Revision as of 10:58, 1 August 2025
Vet'ion & Calvar'ion Guide
Vet'ion and his variant Calvar'ion are Wilderness bosses known for their straightforward mechanics but dangerous environments. They can be fought in either the open wilderness or the Donator Zone.
Vet'ion offers increased loot but with the risk that comes with fighting the boss in the wilderness in a multi-combat zone.
How to Get There
Donator Zone
- Requires Warlord rank to access.
- The Donator Zone features:
- A safe, instanced version of Calvar'ion that costs 1B GP for 2 days.
- A free Calvar'ion version (in singles+ combat), open to anyone, but may be busy.
Note: Revenant weapons are not recommended for the Donator Zone as they are ineffective there.
Wilderness Vet'ion
- Located in multi-combat deep Wilderness.
- Use the teleport command
::chins, then run east to find the cave entrance.
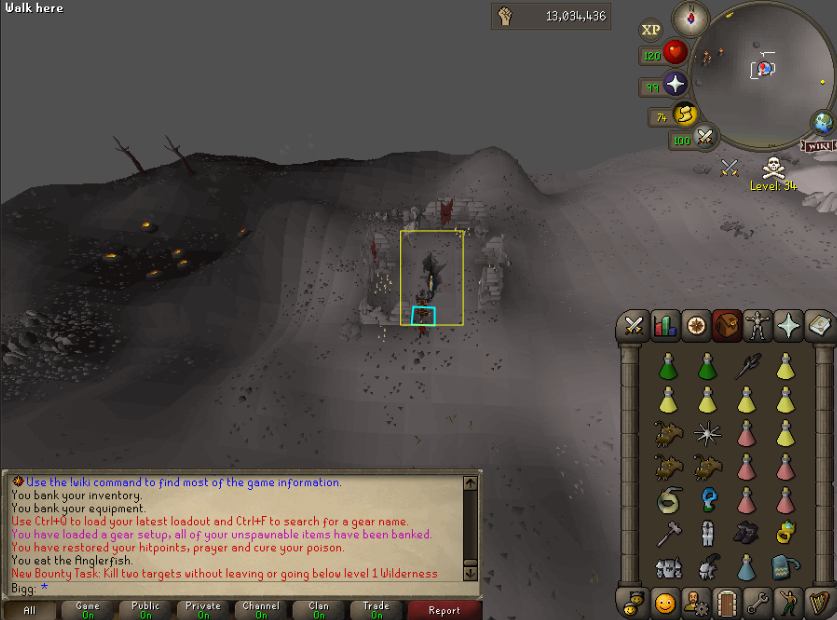
Note: You may bring Revenant weapons (e.g., Vigora's Chainmace) to the wilderness version, as they increase damage against these bosses.
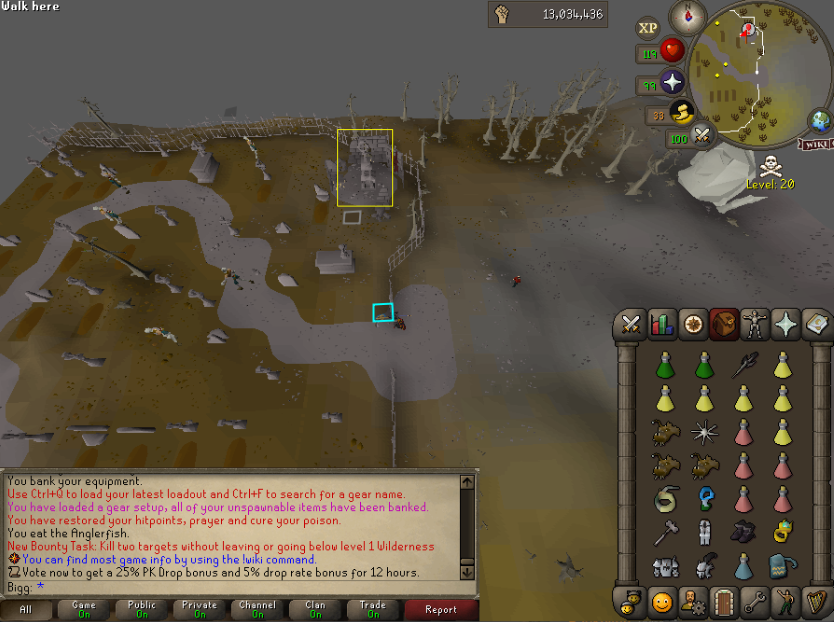
Calvar'ion
- Located in singles combat and lower-level Wilderness.
- Use the teleport tree at
::home, select Corporeal Beast, then run into the graveyard where the entrance is located.
Gear Recommendations
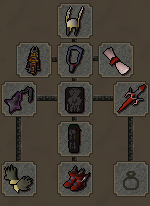
1. Basic Wilderness Setup (for Vet'ion)
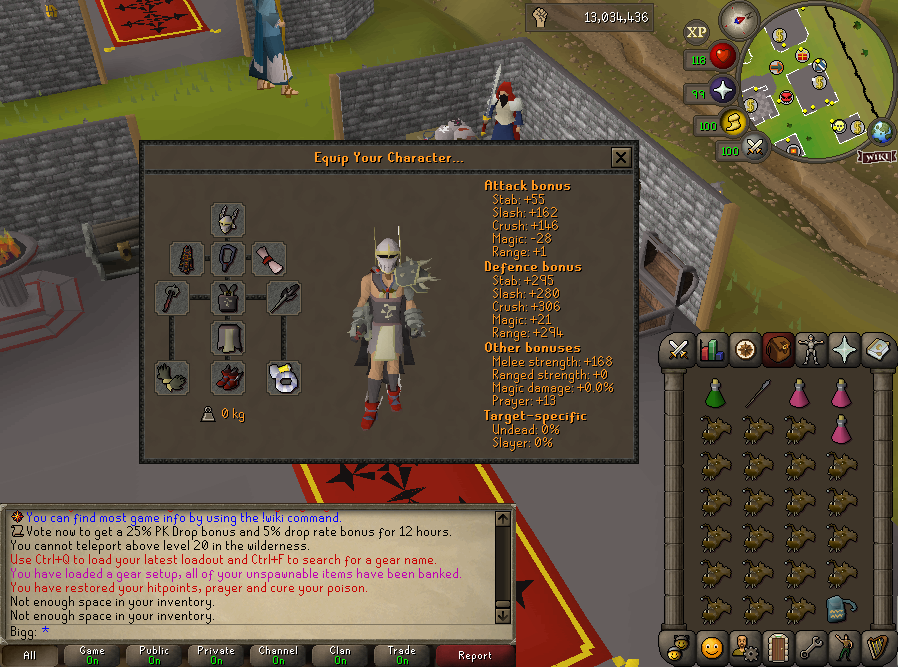
2. Donator Zone Setup – Vet'ion
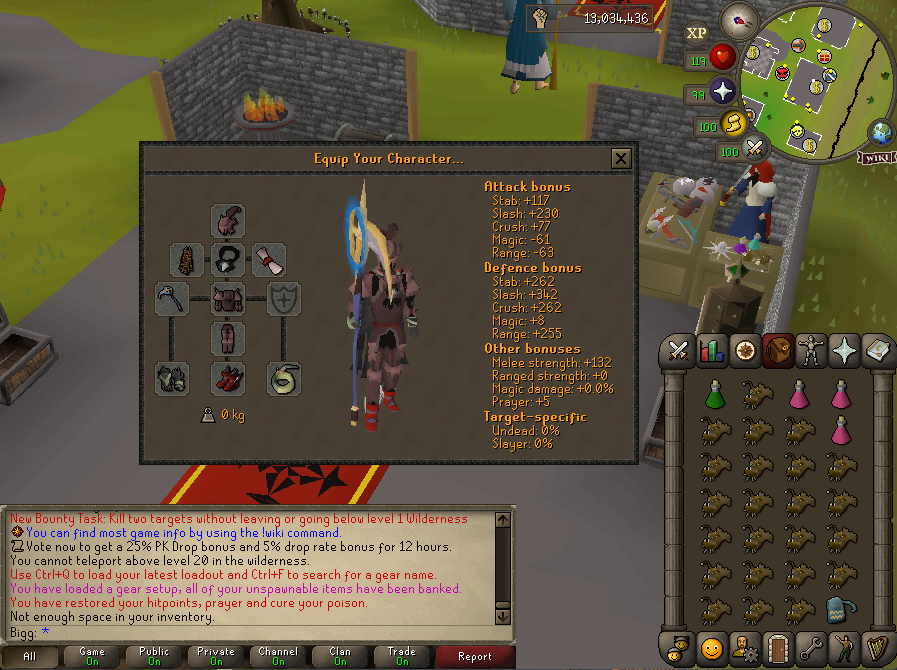
The Fight
Both bosses have two phases (Purple → Orange for Vet'ion; Blue → Orange for Calvar'ion). They share identical mechanics:
Boss Mechanics
Vet'ion/Calvar'ion:
- Do not use protection prayers – they do not target you directly.
- Boss does not deal auto-attacks, only special mechanics.
- At 50% HP during each phase, the boss will summon two hounds:
- Kill these before resuming the boss.
- Use Protect from Melee against them.
Attacks:
1. Lightning Attack
- A coloured circle (blue or orange) will appear on the floor.
- After a delay, it deals heavy damage in a 3x3 radius.
- Move at least 2 tiles away from the centre to avoid it.
2. Stomp Attack
- A line of shadows appears, indicating the path of the stomp.
- Move off these tiles immediately.
- Standing underneath the boss will also cause damage from this stomp.
Notes
- Revenant weapons deal bonus damage in Wilderness but are disabled in Donator Zones.
- These bosses are often targeted by PKers in the Wilderness — always be cautious.
- Both versions are great for passive profit with relatively simple mechanics.